Hier een quote van Bink.nu
A month earlier then expected WSUS 3.0 is released to web!
Microsoft Windows Server Update Services (WSUS) 3.0 delivers new features including an MMC-based user interface with advanced filtering and reporting, improved performance and operational reliability, flexible deployment options to improve branch office support, and more content access through the Microsoft Update Catalog site.
Download WSUS 3.0 hier: http://go.microsoft.com/fwlink/?LinkId=89379
Hier vindt je meer informatie:
Release notes
Step-by-step: Getting started
WSUS 3.0 Overview
Deploying WSUS 3.0
WSUS 3.0 Operations guide
Script Center
Software requirements voor WSUS 3.0 server installatie
.Net 2.0 http://www.microsoft.com
MMC 3.0 http://www.microsoft.com
Microsoft Report Viewer http://www.microsoft.com
Stap 1: Backup maken
Maak eerst een backup van je database mocht deze extern draaien. Maak daarna een backup van de machine / VM.
Stap 2: requirements installeren
.Net 2.0 installeren, MMC 3.0 (Mocht je laatst SP2 voor Windows Server 2003 hebben geïnstalleerd, dan kun je deze stap overslaan) en Microsoft Report viewer.
Stap 3: WSUS 3.0 installeren
Nadat je de prerequirements hebt geïnstalleerd, kun je beginnen met de upgrade naar WSUS 3.0.
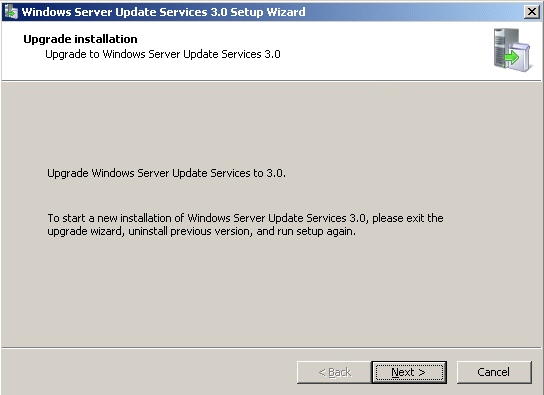
De setup wordt gestart en vindt een bestaande installatie van WSUS 2.0. Deze moet dus worden bijgewerkt naar WSUS 3.0.


De Setup wizard vindt een bestaande installatie van MSDE 2000 deze moet worden bijgwerkt naar Windows Internal Databse.

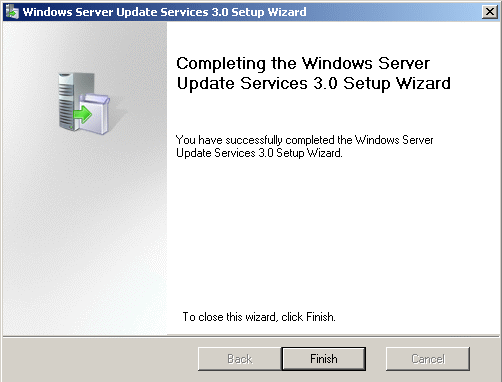
WSUS is bijgewerkt.

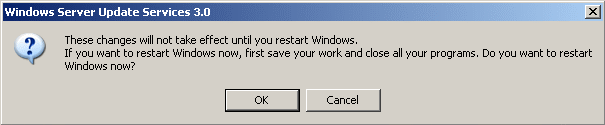
Herstart de Server.

Nadat je het nieuwe console hebt geopent en verbinding hebt gemaakt met de server, kun je beginnen met het inrichten en onderhouden van je WSUS 3.0 server.
Happy Patching!
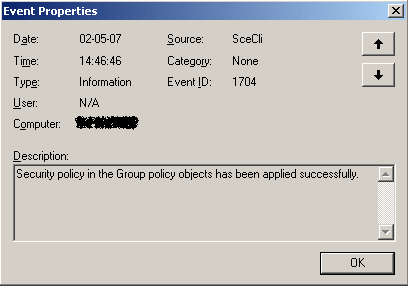
Er kunnen een aantal EventID’s optreden nadat de upgrade is uitgevoerd. Lees hier hoe je dat kunt oplossen.
Bron: http://bink.nu/Article9992.bink