Danny Kort heeft een website opgezet waar je alles kunt lezen over Whitboxes voor voor VMware ESX. Het is ook mogelijk om je eigen configuratie toe te voegen. Klik op het plaatje om naar de website te gaan.

Danny Kort heeft een website opgezet waar je alles kunt lezen over Whitboxes voor voor VMware ESX. Het is ook mogelijk om je eigen configuratie toe te voegen. Klik op het plaatje om naar de website te gaan.
![]()
Versie 2.0 bevat de volgende nieuwe features:
- Five times faster – Veeam Backup 2.0 has a new optimized backup engine, which allows for up to five times faster backup and replication performance than the previous version.
- Windows Volume Shadow Copy Service (VSS) support – Veeam Backup 2.0 leverages VSS to ensure consistent backup and recovery of VSS-aware applications, including Active Directory, Microsoft Exchange and Microsoft SQL Server.
- ESXi support – Now customers can back up ESXi servers using VMware Consolidated Backup (VCB). File-level recovery is fully supported for guests running on ESXi, and full image restore is supported to ESX 3.x servers. These images can then be VMotioned to ESXi as needed.
- Enhanced reporting and notification – Comprehensive real-time job statistics are available, including automated e-mail notification of backup job status, activity and performance details.
- Backup portability – Veeam Backup users can now easily import backups made using previous versions of the software, or backups that have been archived to tape.
- Support for third-party tape backup systems – Now users can specify a script to automatically run when the VMware backup is finished, initiating tape backups to begin.
Veeam heeft ook een demo van Veeam Backup online staan. Deze kun je via de volgende button opstarten:![]()
Meer informatie vind je hier: http://www.veeam.com/vmware-esx-backup.html

Openfiler includes support for volume-based partitioning, iSCSI (target and initiator), scheduled snapshots, resource quota, and a single unified interface for share management which makes allocating shares for various network file-system protocols a breeze.
The following are just some of the features currently available (unless indicated otherwise) in Openfiler.
- Powerful block storage virtualization
- Full iSCSI target support, with support for virtual iSCSI targets for optimal division of storage
- Extensive volume and physical storage management support
- Support for large block devices
- Full software RAID management support
- Support for multiple volume groups for optimal storage allocation
- Online volume size and overlying filesystem expansion
- Point-in-time snapshots support with scheduling
- Volume usage reporting
- Synchronous / asynchronous volume migration & replication (manual setup necessary currently)
- iSCSI initiator (manual setup necessary currently)
- Extensive share management features
- Support for multiple shares per volume
- Multi-level share directory tree
- Multi-group based access control on a per-share basis
- Multi-host/network based access control on a per-share basis
- Per-share service activation (NFS, SMB/CIFS, HTTP/WebDAV, FTP with read/write controls)
- Support for auto-created SMB home directories
- Support for SMB/CIFS “shadow copy” feature for snapshot volumes
- Support for public/guest shares
- Accounts management
- Authentication using Pluggable Authentication Modules, configured from the web-interface
- NIS, LDAP, Hesiod, Active Directory (native and mixed modes), NT4 domain controller
- Guest/public account support
- Quota / resource allocation
- Per-volume group-quota management for space and files
- Per-volume user-quota management for space and files
- Per-volume guest-quota management for space and files
- User and group templates support for quota allocation
- Other features
- UPS management support
- Built-in SSH client Java applet
- Full industry-standard protocol suite
- CIFS/SMB support for Microsoft Windows-based clients
- NFSv3 support for all UNIX clients with support for ACL protocol extensions
- NFSv4 support (testing)
- FTP support
- WebDAV and HTTP 1.1 support
- Linux distribution back-end for any other customizations
Download de VA of ISO hier: http://www.openfiler.com/community/download


Mocht je nog geen idee hebben wat Ubuntu Jeos inhoud, dan kun je hier meer informatie vinden. Via deze hyperlink kom je ook op de download pagina uit.
Via het onderstaande commando schakel je het root account in
mysql -u root -p
Daarna kun je alvast een databasse aanmaken
create database wordpress;
Navigeer naar /var/www/
Download nu de laatste versie van WordPress
sudo wget http://wordpress.org/latest.tar.gz
pak deze uit via
tar zxf latest.tar.gz
Pas nu de wp-config.php aan
cp wp-config-sample.php wp-config.php
nano wp-config.php en vul je database gegevens in.
Nu kun je via de browser WordPress installeren.
nano /etc/php5/apache2/php.ini
pas nu de volgende parameter aan:
upload_max_filesize = 10M
md /var/www/wordpress/wp-content/uploads
Daarna nog even de rechten goedzetten.
chmod -R 777 /var/www/wordpress/wp-content
bron: http://www.fireflake.com/tech/2008/07/28/virtual-ubuntu-804-jeos-lamp-server/

Paul Shannon van (http://www.vm-aware.com/) heeft een pdf gemaakt waarin hij de nieuwe feature Hot Extend Virtual Disks stap voor stap uitlegt.
One of the great new bits of functionality in ESX 3.5 Update is the ability to hot extend non-boot virtual disks without shutting down the VM.
I decided to give it a go with a Windows 2003 Standard VM and thought I’d provide a How To for anyone that might need/want it.
De pdf kun je hier downloaden: how-to-hot-extend-virtual-disks-using-esx-35-update-2
Ik ben nu even met ESX 3.5 en VC 2.5 update 2 aan het testen in een VM en kwam als eerste de volgende nieuwe features tegen:
Ik denk dat de Health Status nodig is voor de volgende optie:
VirtualCenter Alarms
VirtualCenter 2.5 Update 2 extends support for alarms on the overall health of the server by considering the health of each of the individual system components such as memory and power supplies. Alarms can now be configured to trigger when host health degrades.

De Health Satus zat ook al van ESX3i:

Hot Virtual Extend Support – The ability to extend a virtual disk while virtual machines are running is provided. Hot extend is supported for vmfs flat virtual disks without snapshots opened in persistent mode.
De XPVM staat aan een heeft een VMDK van 8GB deze ga ik via Hot Virtual Extend vergroten naar 10GB.

Voordat je deze optie kunt gebruiken moet je wel even de snapshots verwijderen.
Live Cloning of Virtual Machines – VirtualCenter 2.5 Update 2 provides the ability of creating a clone of a powered-on virtual machine without any downtime to the running virtual machine. Therefore, administrators are no longer required to power off a virtual machine in order to create a clone of it.

Dit kon al in VC 2.5. Hoe dit in zijn werk gaat lees je in deze post.
Windows Single Sign-on Support
You can now automatically authenticate to VirtualCenter using your current Windows domain login credentials on the local workstation, as long as the credentials are valid on the VirtualCenter server. This capability also supports logging in to Windows using Certificates and Smartcards. It can be used with the VI Client or the VI Remote CLI to ensure that scripts written using the VI Toolkits can take advantage of the Windows credentials of your current session to automatically connect to VirtualCenter.
VSS quiescing support – When creating quiesced snapshot of Windows Server 2003 guests, both filesystem and application quiescing are supported. With Windows Server 2008 guests, only filesystem quiescing is supported. For more information, see the Virtual Machine Backup Guide and the VMware Consolidated Backup 1.5 Release Notes.
Ik was al een tijdje aan het zoeken naar een goede features comparison sheet. Ik zat er zelfs al aan te denken om er zelf een te maken tot dat Aleks (virtualistic.nl) me de volgende site liet zien: http://www.it20.info/
Disclosures:
- I have limited the scope to x86 virtualization solutions
- Virtualization is such a broad topic that I have decided to limit this table to hardware virtualization only solutions. The only exceptions as of today are “SW Virtuozzo” and “Solaris Containers” which do not implement hw virtualization but rather OS virtualization. For a description of these various virtualization tehcnologies check this article.
- I have limited the solutions and the ISV to what I personally believe to be those that currently matter for the commercial/enterprise customers.
- To shape/structure and fill this table I have collected feedbacks from various communities and other tables I came across in the last few months (thanks to Andreas Groth for his inputs). I am trying to maintain this page for the sake of the community … not to get credit for a work that others have been doing and I am only integrating here.
- It’s proving to be very difficult to rate thorugh a simple yes/no table the value of a solution over the other. This is becoming even more challanging since most ISV’s are pushing into the value-add features rather than the pure hypervisor …
- …. but since so many people are looking for such a table I decided to try ….
- If you are one one the ISV’s mentioned below feel free to send me feedbacks and suggestions to the e-mail address above.
- Some of the info in the tables are facts. Other info are opinion of the author and as such should be treated.
Structure of the Comparison:
- High-level info and general market scenario (this will position the offering in the market)
- Host/Hypervisor specific information/characteristics (this will high-light the hypervisor features)
- Virtual Machines specific information/characteristics (this will high-light the potential virtual environments characteristics)
- Infrastructure Management specific information/characteristics (this will enlarge the scope to the out-of-the box infrastruxture management features)
De comparison sheet kun je hier bekijken: http://www.it20.info/misc/virtualizationscomparison.htm
Thanks Aleks voor de link!
Je kunt vanaf nu je license aanvragen. Klik op het plaatje om naar het forumlier te gaan.
Bron: http://www.yellow-bricks.com/2008/07/28/esxi-pick-it-up-for-free-now/
Alvorens je aan de slag gaat met het upgraden van je omgeving, download en lees eerst de vi3_35_25_u2_upgrade_guide.pdf
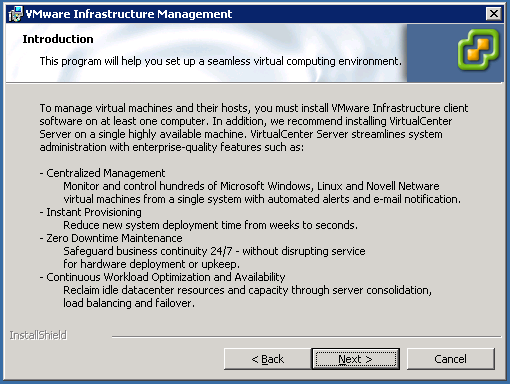
Zodra je klaar bent met lezen start je de autorun.exe vanaf de VC_CD.
Vink je alles aan wat je wilt upgraden.

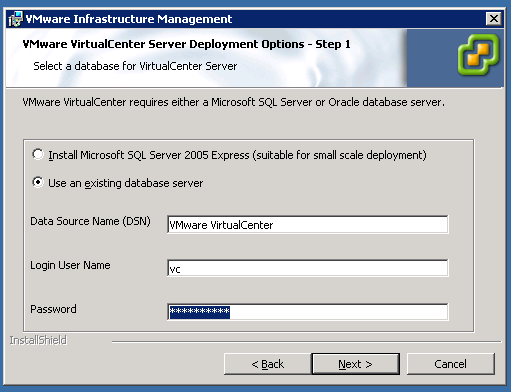
Geef de database settings op
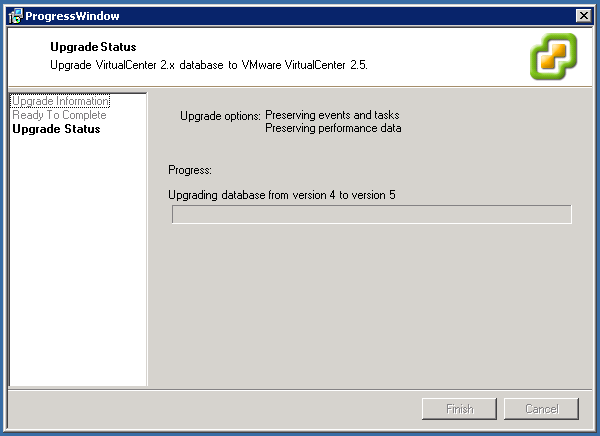
De Database wordt later bijgewerkt van Versie 4 naar Versie 5.

Even een waarschuwing tussen door. De agent draait gewoon op mijn SQL server dus waarom dit is weet ik niet.

De volgende melding moet je wel even serieus nemen.

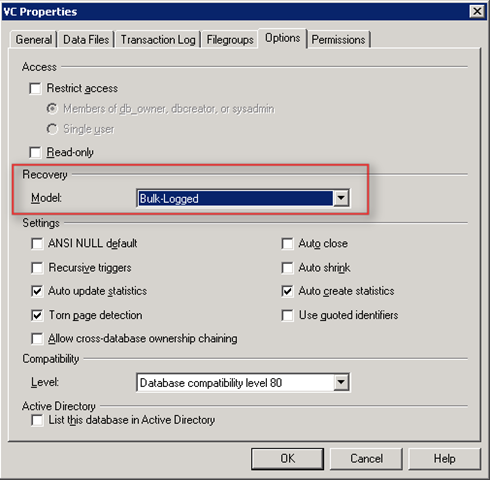
In vi3_35_25_u2_upgrade_guide.pdf staat het volgende om de bovenstaande melding op te lossen.
If you are upgrading a SQL database, you must first enable bulk logging in the
database.
a Open SQL Server Enterprise Manager.
b Right‐click the database and click Properties > Options > Recovery Mode.
c Select Bulk‐logged.
Zet het Recovery Model in op Bulk-Logged.
Hmm. En toen klapte de installatie eruit.
Ik kon nog niks vinden op google, over mogelijke oorzaken en oplossingen. De setup heb ik heb vervolgens in delen, met het handje gedaan.
Na de installatie van VirtualCenter server moet de database worden bijgewerkt:
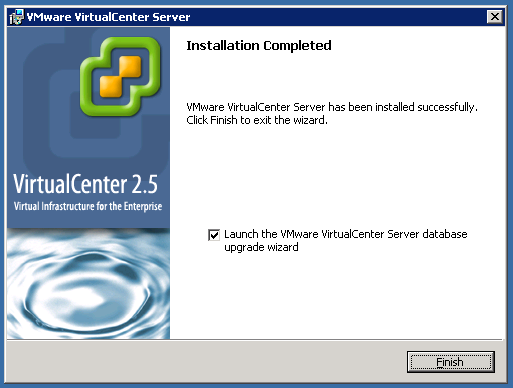
De wizard word gestart
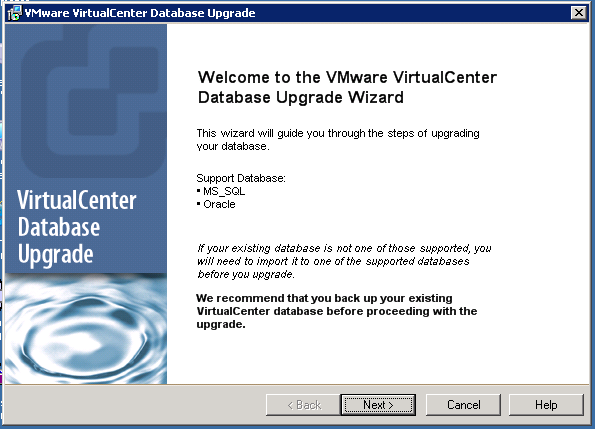
Ik heb hier de standaard waarden laten staan.
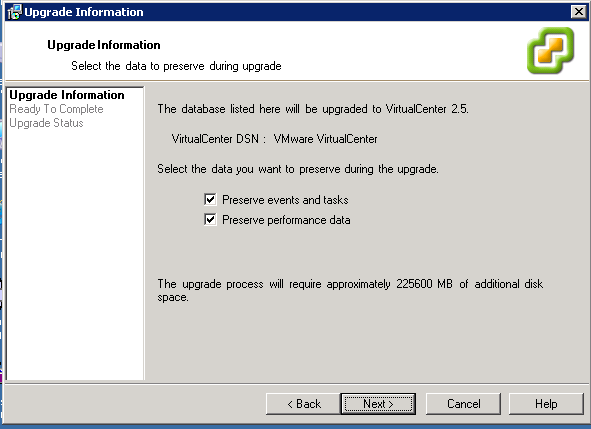
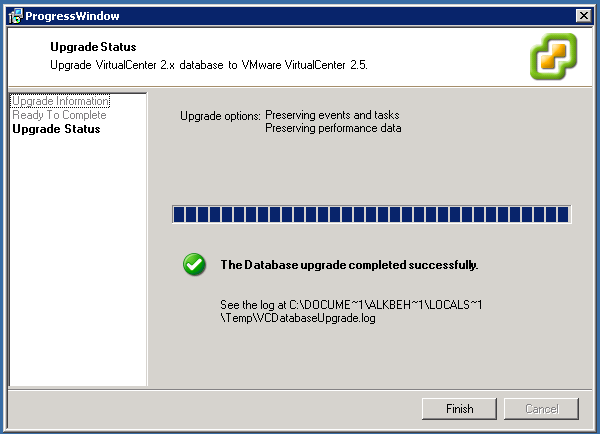
De database wordt bijgewerkt naar versie 5.
De upgrade is goed gegaan.
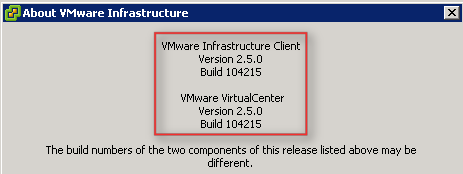
En alles is weer bijgewerkt naar de laatste builds.
Na de installatie van Windows Vista SP1 worden er een aantal MMC’s gedeïnstalleerd. Deed je op je Vista machine zonder SP1 nog Start – Run – GPMC.msc en je kun je GPO’s beheren. Na de installatie van SP1 gaat dit niet meer.

Speciaal voor windows Vista zijn toen de Remote Server Administration Tools (RSAT) ontworpen.
Download de RSAT versie voor jouw OS.
Voordat je de Remote Server Administration Tools gaat installeren lees eerst de onderstaande quote van http://blogs.technet.com/grouppolicy/
RSAT should not be installed on a computer that is running the Windows Server 2003 Administration Tools Pack or Windows 2000 Server® Administration Tools Pack. Please remove all versions of Administration Tools Pack from the computer before installing RSAT.
Only one copy of RSAT can be installed on a computer at one time. Before installing a new package, remove any existing versions of RSAT, including any copies that are in different languages.
Mocht je geen adminpack van Windows Server 2003 hebben geïnstalleerd, dan kun je de RSAT tools installeren. Vervolgens merk je nog geen verbeteringen omdat je Tools nog aangezet moeten worden. Dit doe je via:
Control Panel – Programs and Features – Turn Windows Features On or Off – Remote Server Administration Tools
In de Windows Features wizard kun je de verschillende tools inschakelen. Je kunt ook Remote Server Administration Tools in zijn geheel inschakelen.

Nadat de wizard even bezig is geweest, zie je in de map Control Panel – Administrative Tools de nieuwe MMC’s.

Vanaf nu kun je ook weer via Start – Run – GPMC.msc weer het management console starten.
Meer informatie over RSAT vind je in: KB941314
